There are loads of situations where you need to use a SQL database for something. In some cases a SQL Express database will do the job fine rather than installing the full version of SQL.
I’ve created mainly so that when I cover other topics I can link to this article rather than repeating myself.
To install a SQL 2012 Express Instance follow the instructions below :-
First of all download the SQL 2012 Express Install from Microsoft here
Once downloaded run the setup file.
It normally takes a while to get going to the wizard………..
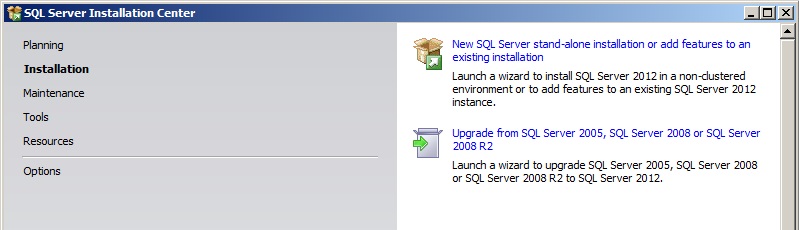
Once the SQL Server Installation Center opens click New SQL Server stand-alone installation or add features to an existing installation
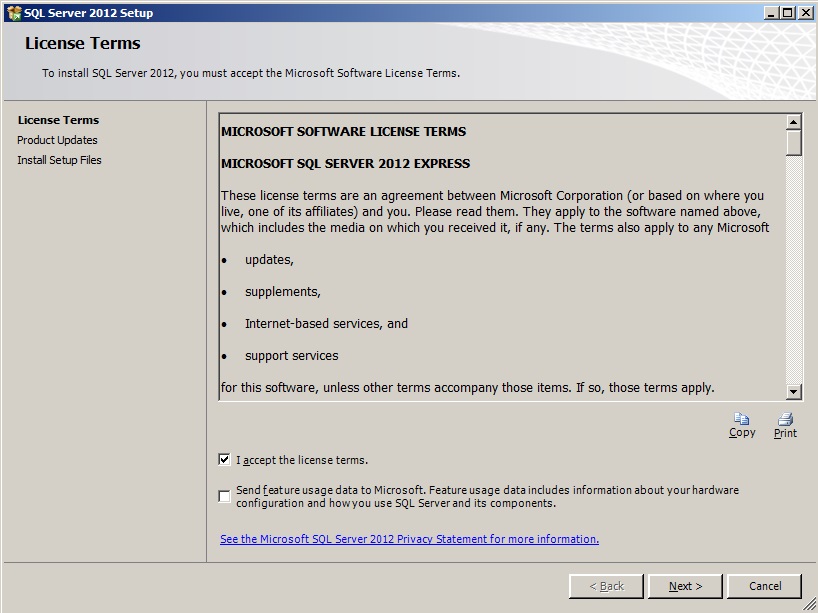
Click I accept on the License Terms and click Next.
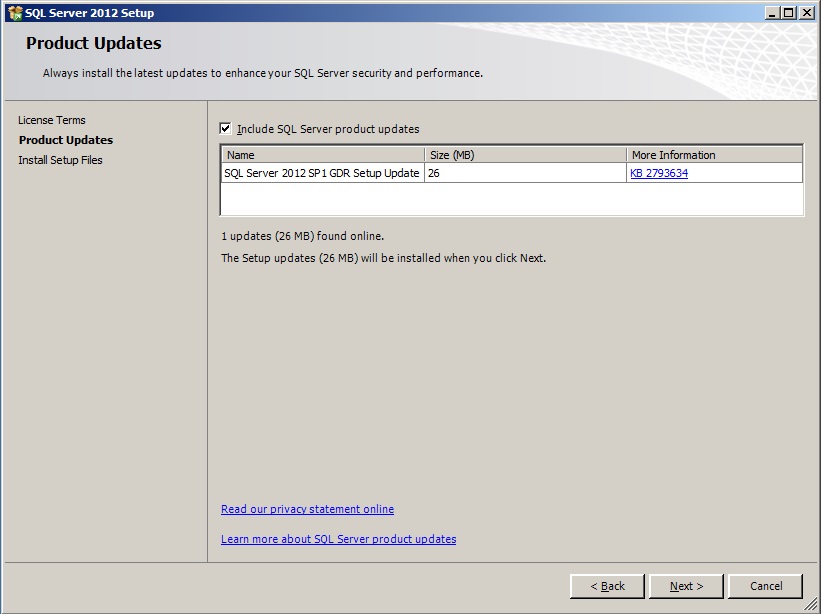
Leave everything selected. It will go online and grab the latest updates. Click Next.
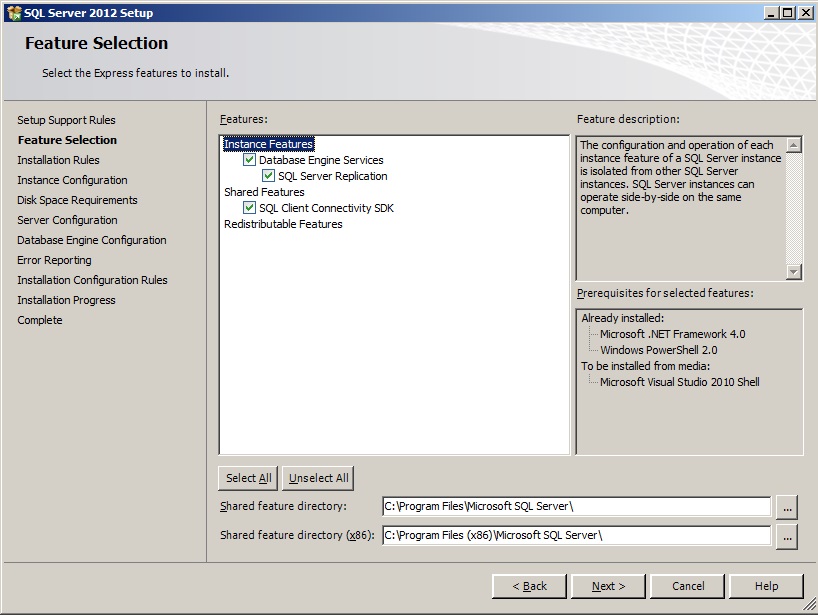
At the feature selection screen, Select your install path. I’ll leave everything as default. Click next.
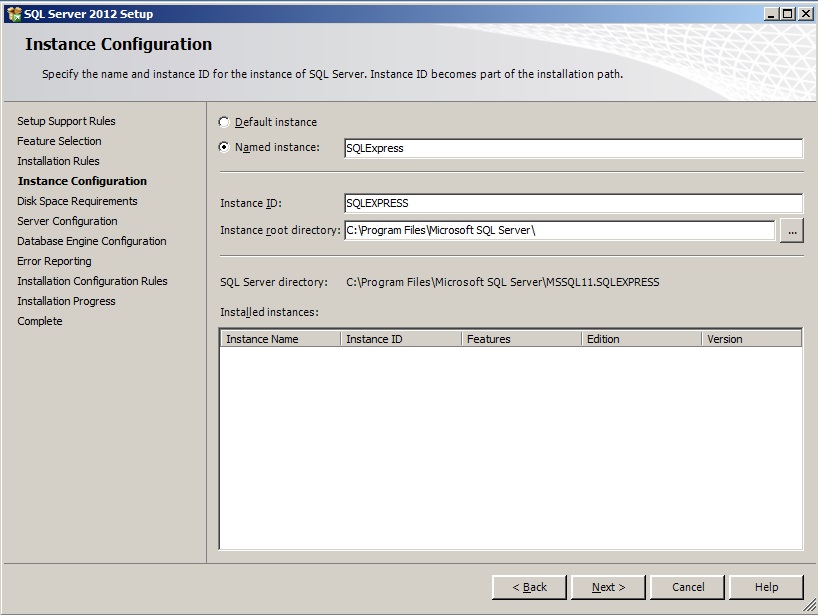
On the Instance Configuration screen choose the name of the SQL instance that you want to create. I’m happy with the default so will click Next.
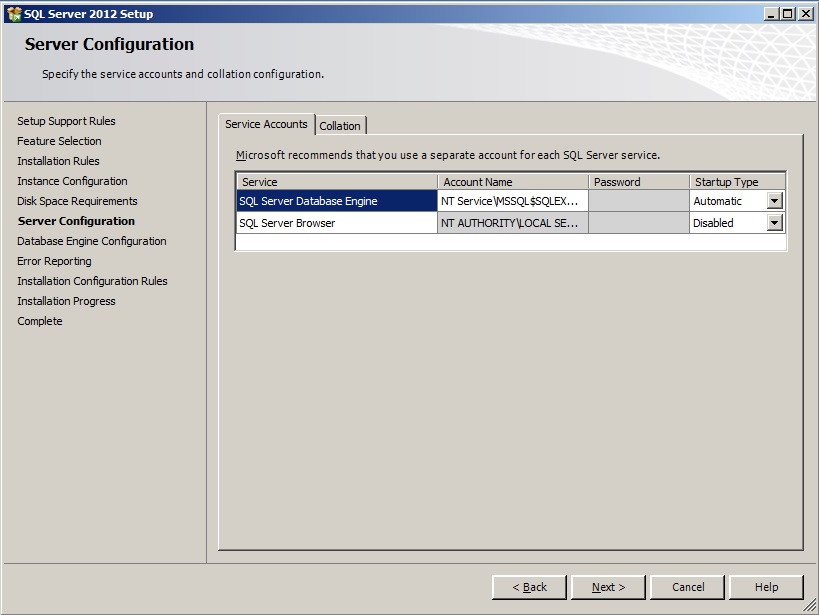
The next screen is where you can choose what credentials etc your SQL service should run as. I normally leave these as the defaults. Click Next
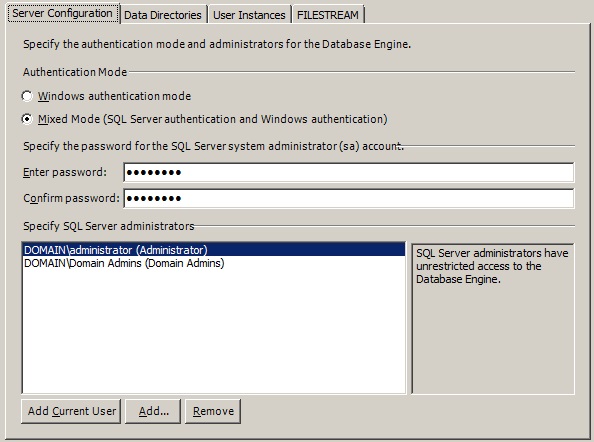
The Database Engine Configuration is the most important screen. Here we need to tell the system who can manage the SQL instance. For me I normally allow domain admins so I am not locked out. I also set the SQL Authentication Mode to Mixed mode. You should check your SQL database requirement before proceeding. I added Domain Admins and also specified a System Administrator password. I left the other tabs as default. Click Next.
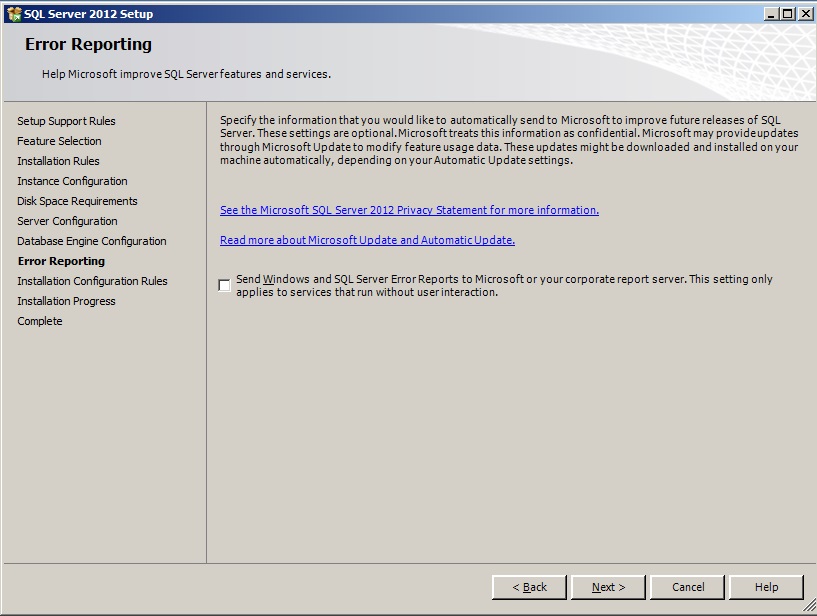
Leave Error reporting as default and click Next.
It will now install your SQL instance. Once its completed ensure everything is marked as Succeeded and click Close.
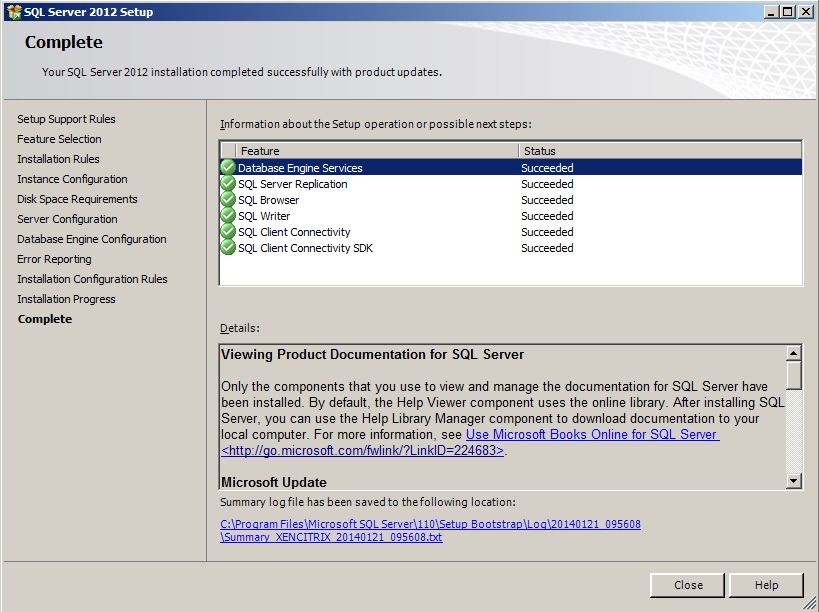
All done.